

Setting up a Google Tag Manager account is a two-step process that is completely separate from any of your other Google accounts, this includes Google Analytics accounts and Gmail accounts.
Step 1 - Create a Google Tag Manager Account
First sign up for an account. Go to https://tagmanager.google.com and sign into your Google Account.
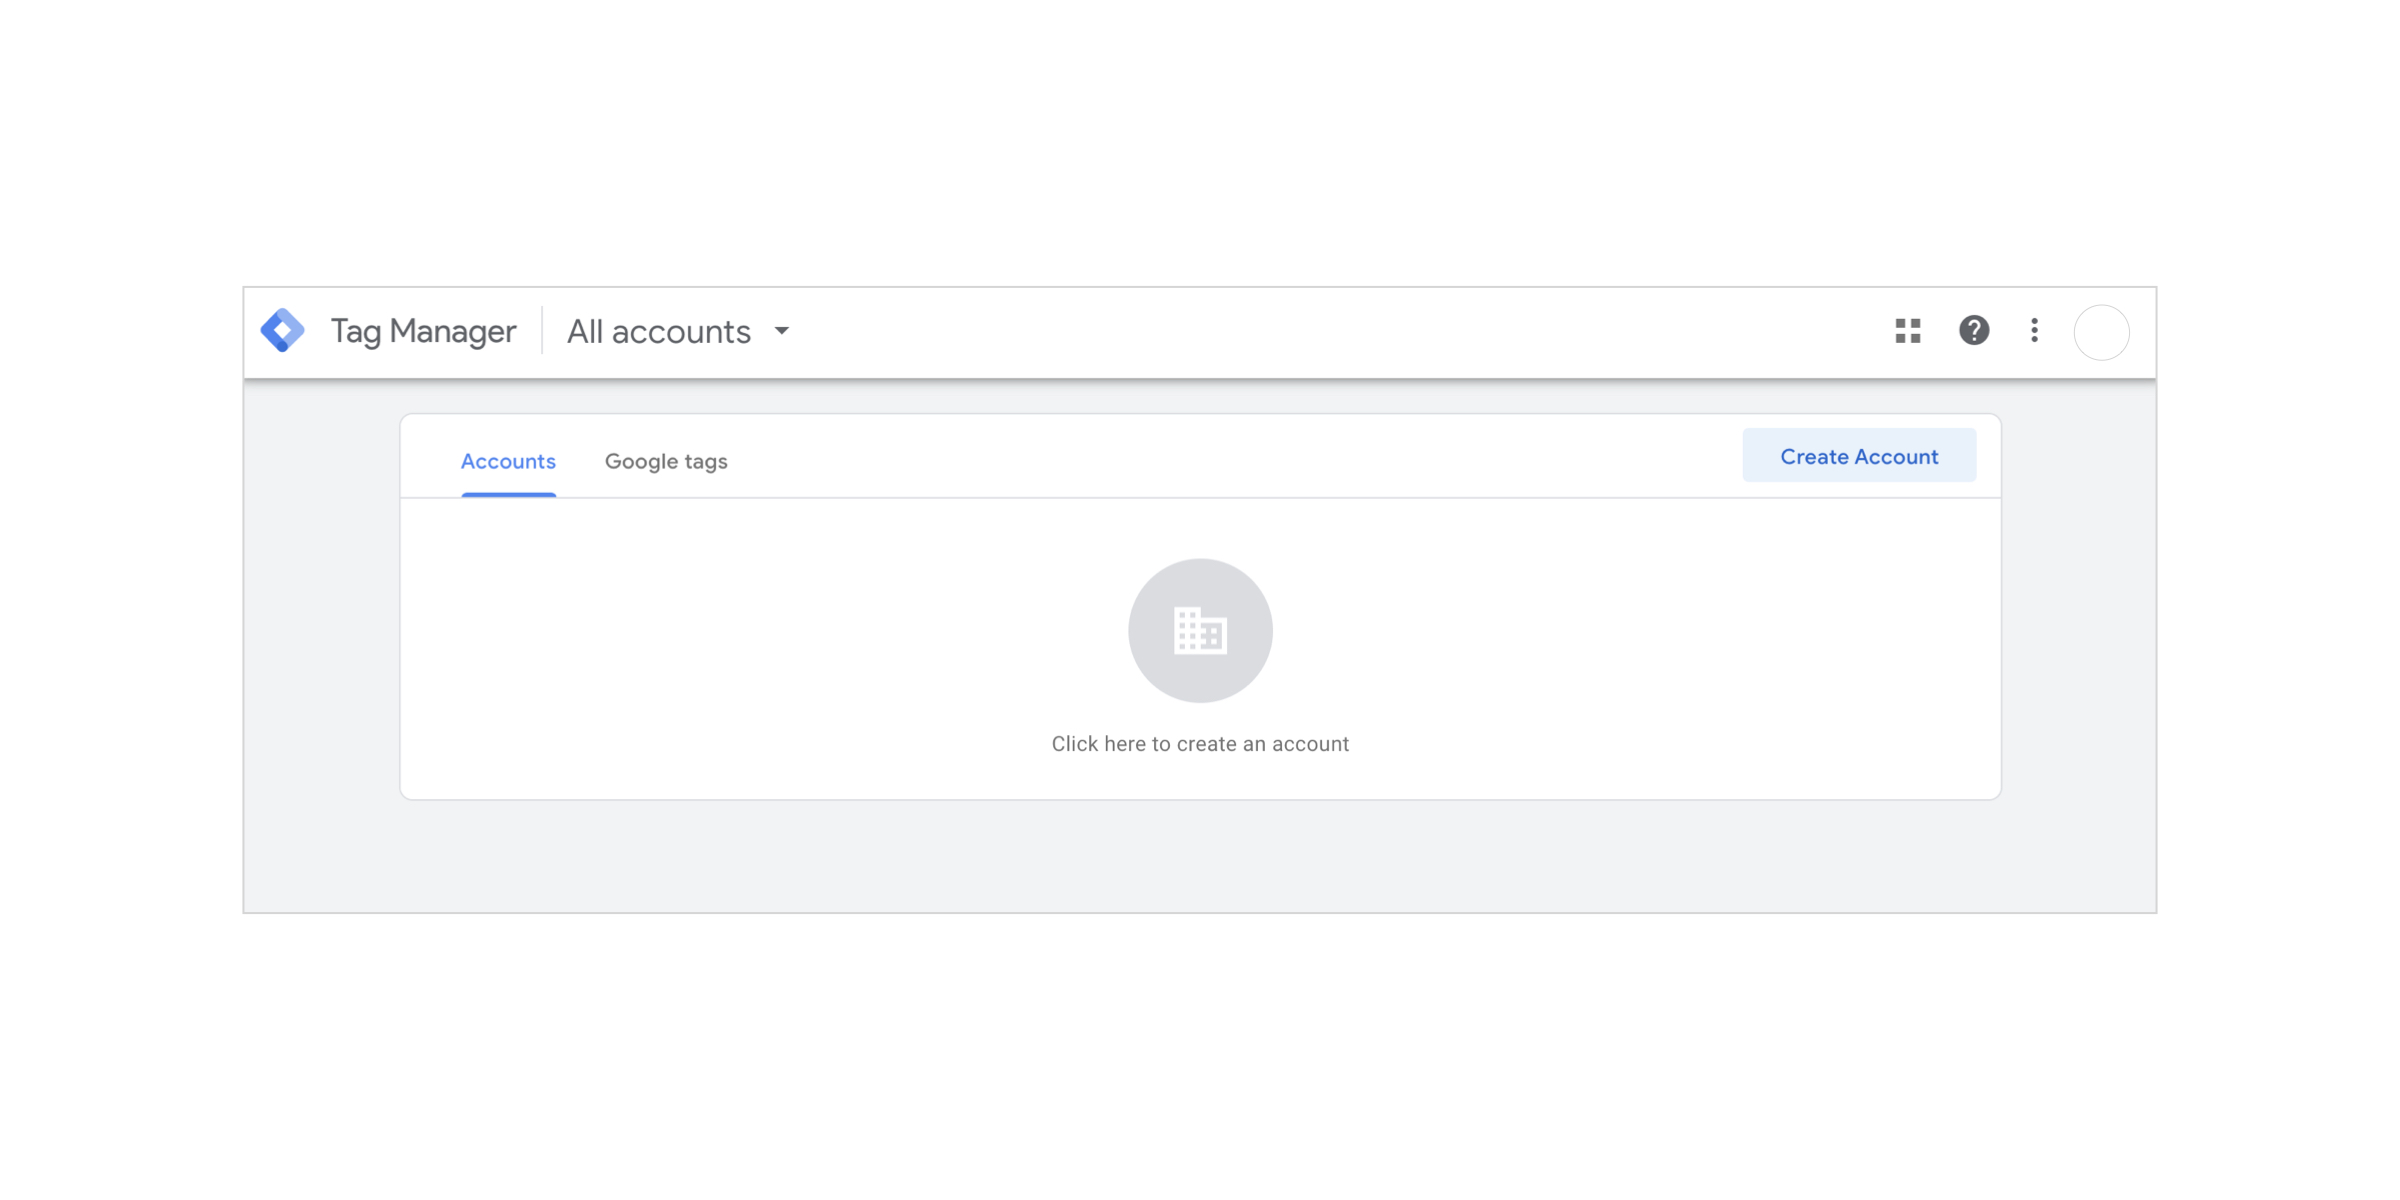
When you are logged into Tag Manager click ‘Accounts’, then ‘Create Account’.
Enter your details into the Account Setup section. This includes your account name, your location and if you consent to your data being shared anonymously.

Then complete the Container Setup.
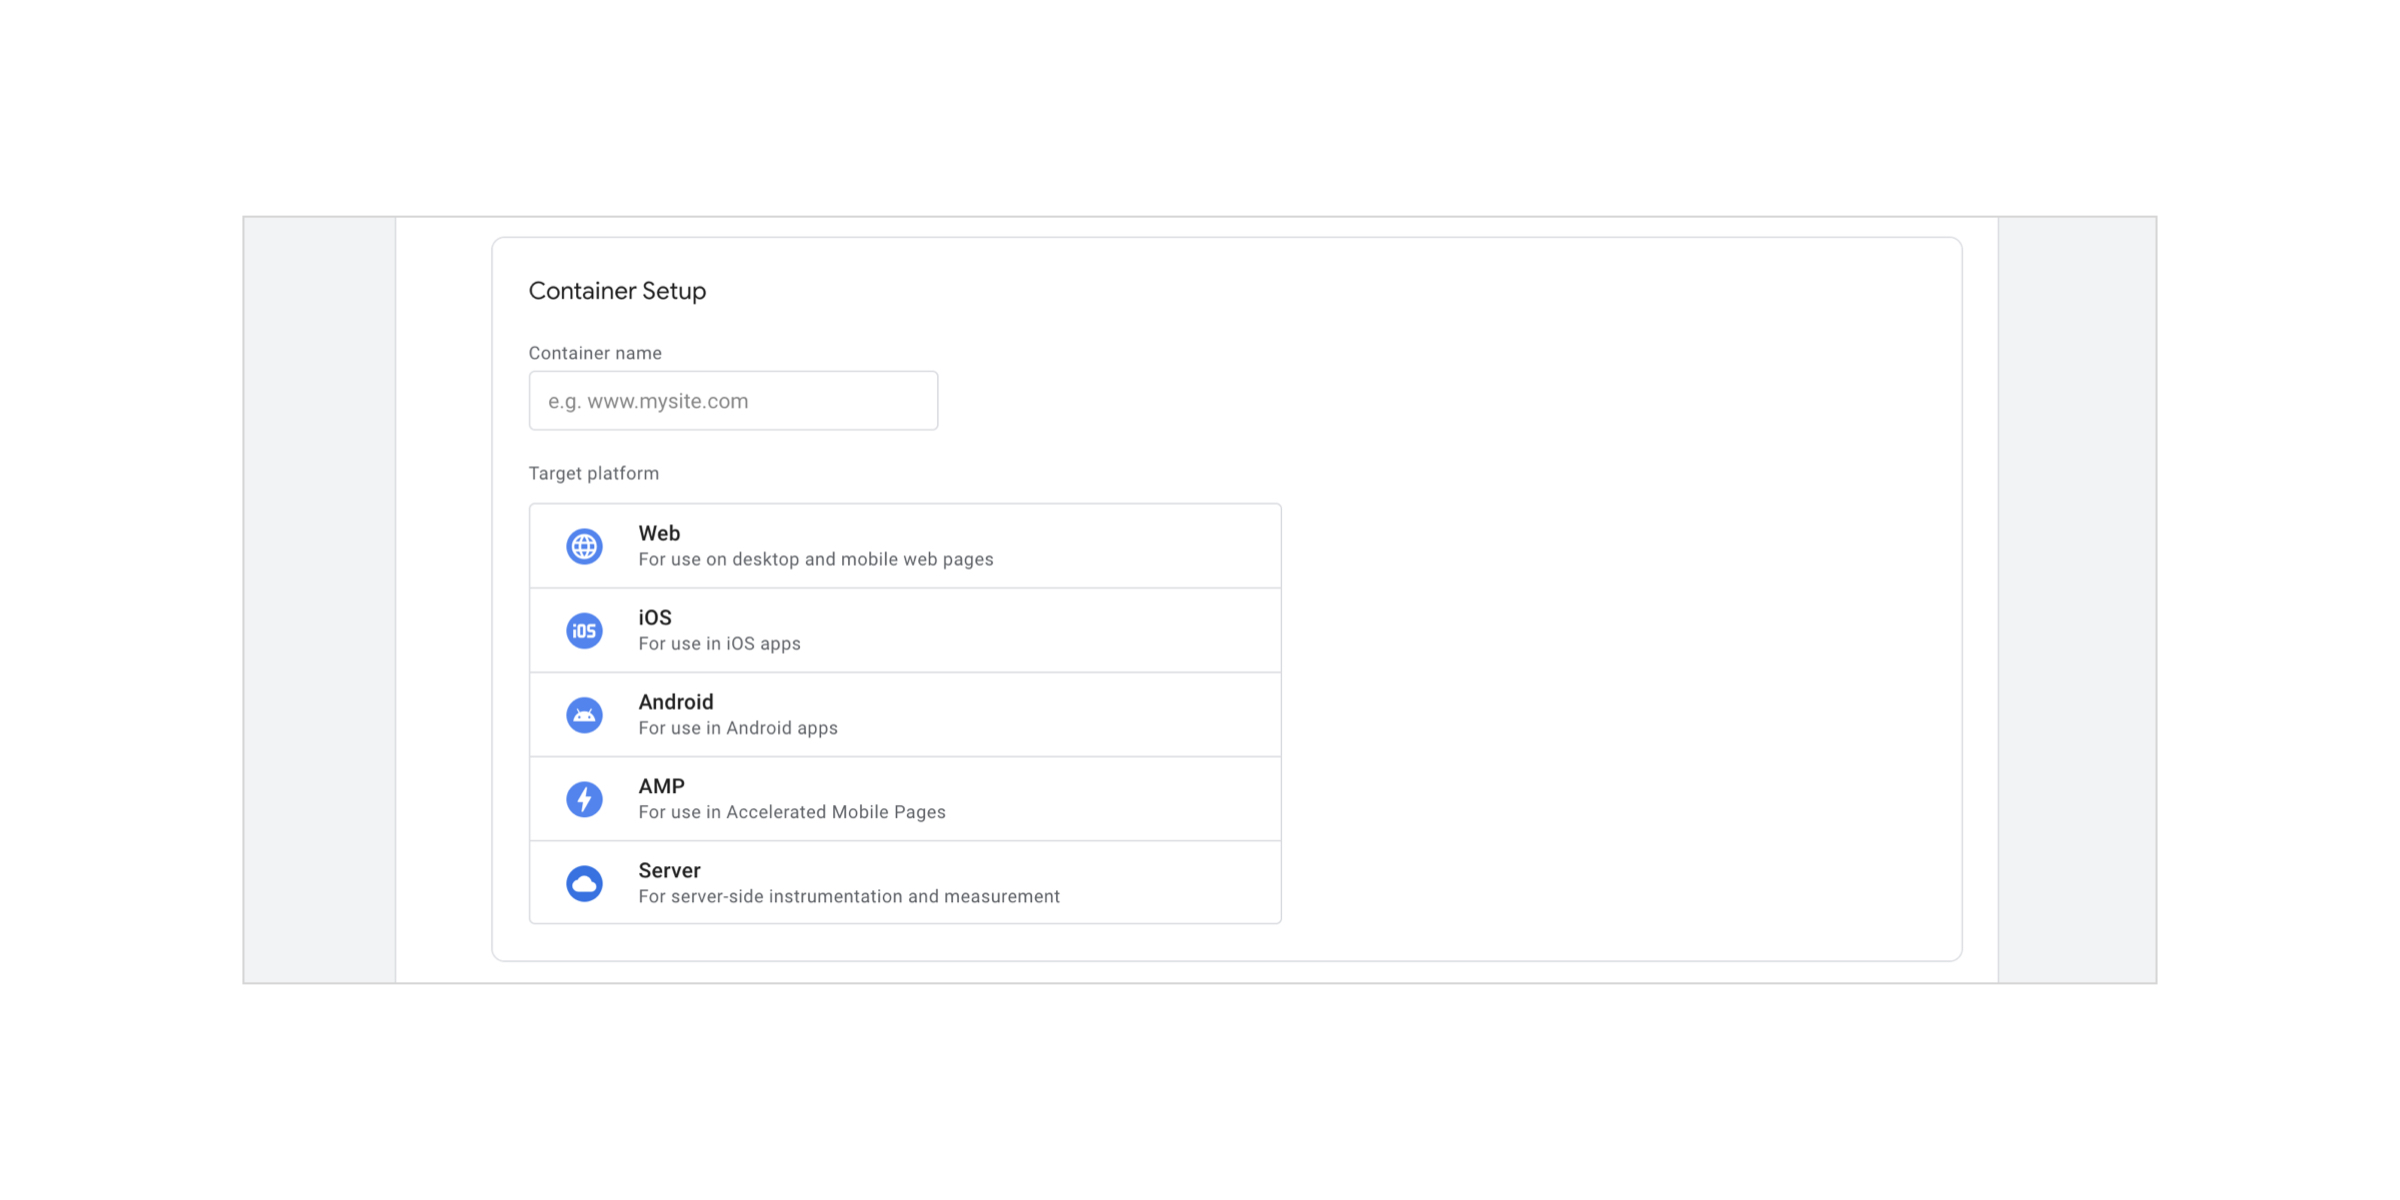
If your company has multiple websites, apps or a combination of them both you will need to create multiple containers.
Step 2 - Installing a web container
Once your container is created you need to install code snippets into your website. For websites that were not built using a website builder or a content management system, you will need to install a code snippet on every page of your website.
Open Google Tag Manager and in the Workspace tab select your container ID. This number starts with GTM.
Copy the first block of code and paste it as near to the top of your <head> tag as possible. Then copy the second block of code and paste it straight after the <body> tag.
Once you have inserted the code test your website by clicking ‘test’.
If your website has been built using a website builder or content management system (CMS) you can do this with an integration. Each platform has site-specific instructions Google has an overview of the processes but you can also read the guidance published by your website platform.
Step 3 - Adding the Google Tag
Open Google Tag Manager and in the Workspace tab click ‘Tags’.
In the Tags section click ‘New’.
- Name your tag.
- Choose ‘Google Tag’.
- Enter your Tag ID.
- Select ‘Initialization - All pages trigger’ in the triggering section
- Click save.
Step 4 - Verify and publish your tags
In the workspace of Google Tag Manager click ‘Preview’.
Enter your website URL and click ‘connect’. Fix any issues you find and make sure the tags are working in the way you intended them to.
In the workspace of Google Tag Manager click ‘Submit’. Follow the instructions in the wizard and then click ‘Publish’.
Remember…
There are almost endless ways to track activity on your site using Google Tag triggers. So setting up your Google Tag Manager is only one step of the process.
We can help set up Google Tag Manager for you. This means we can help you to narrow down the tags you need. This stops you from being flooded with unhelpful data, and gives you peace of mind that the tags have been properly set up so you can trust the data.
Example: Track Button Clicks with Google Tag Manager
You have created your website and have a variety of brilliant Call To Action (CTA) buttons placed on different pages, but how do you know which ones are effective?
GTM can track several events automatically, but there are likely to be scenarios where you want some custom scenarios to be tracked.
Let’s say you are launching a new product and you want to know how many people click your ‘Learn more’ button. You can set up link click tracking for that. This can give you valuable insights into how many people are interested in your new product. If you have lots of people clicking the button but very few people complete the signup process for updates, it can help you identify bottlenecks in the process. For example, maybe your messaging is confusing.
Example: Track File Downloads with Google Tag Manager
You might have decided that part of your digital marketing strategy is to give away two free PDF resources. You decide to set up these resources to be downloadable for anyone who clicks on them.
To help guide your marketing strategy and measure its impact you need to know how many people downloaded the two PDFs.
GA4 automatically tracks file downloads however all file types are grouped together in the same event, which makes it difficult to track specific downloads. This is where you might benefit from setting up a custom tracking variable to see how many times each of the PDF files are downloaded.
Using GTM in this way gives you more detailed insights into the behaviour of your site visitors than just using GA4.


%2520How%2520to%2520add%2520Google%2520Analytics%2520to%2520Shopify%2520(GA4%2520_%2520Google%2520Analytics%25204).jpeg)